# Add Your Devices into Apple Home

## Overview

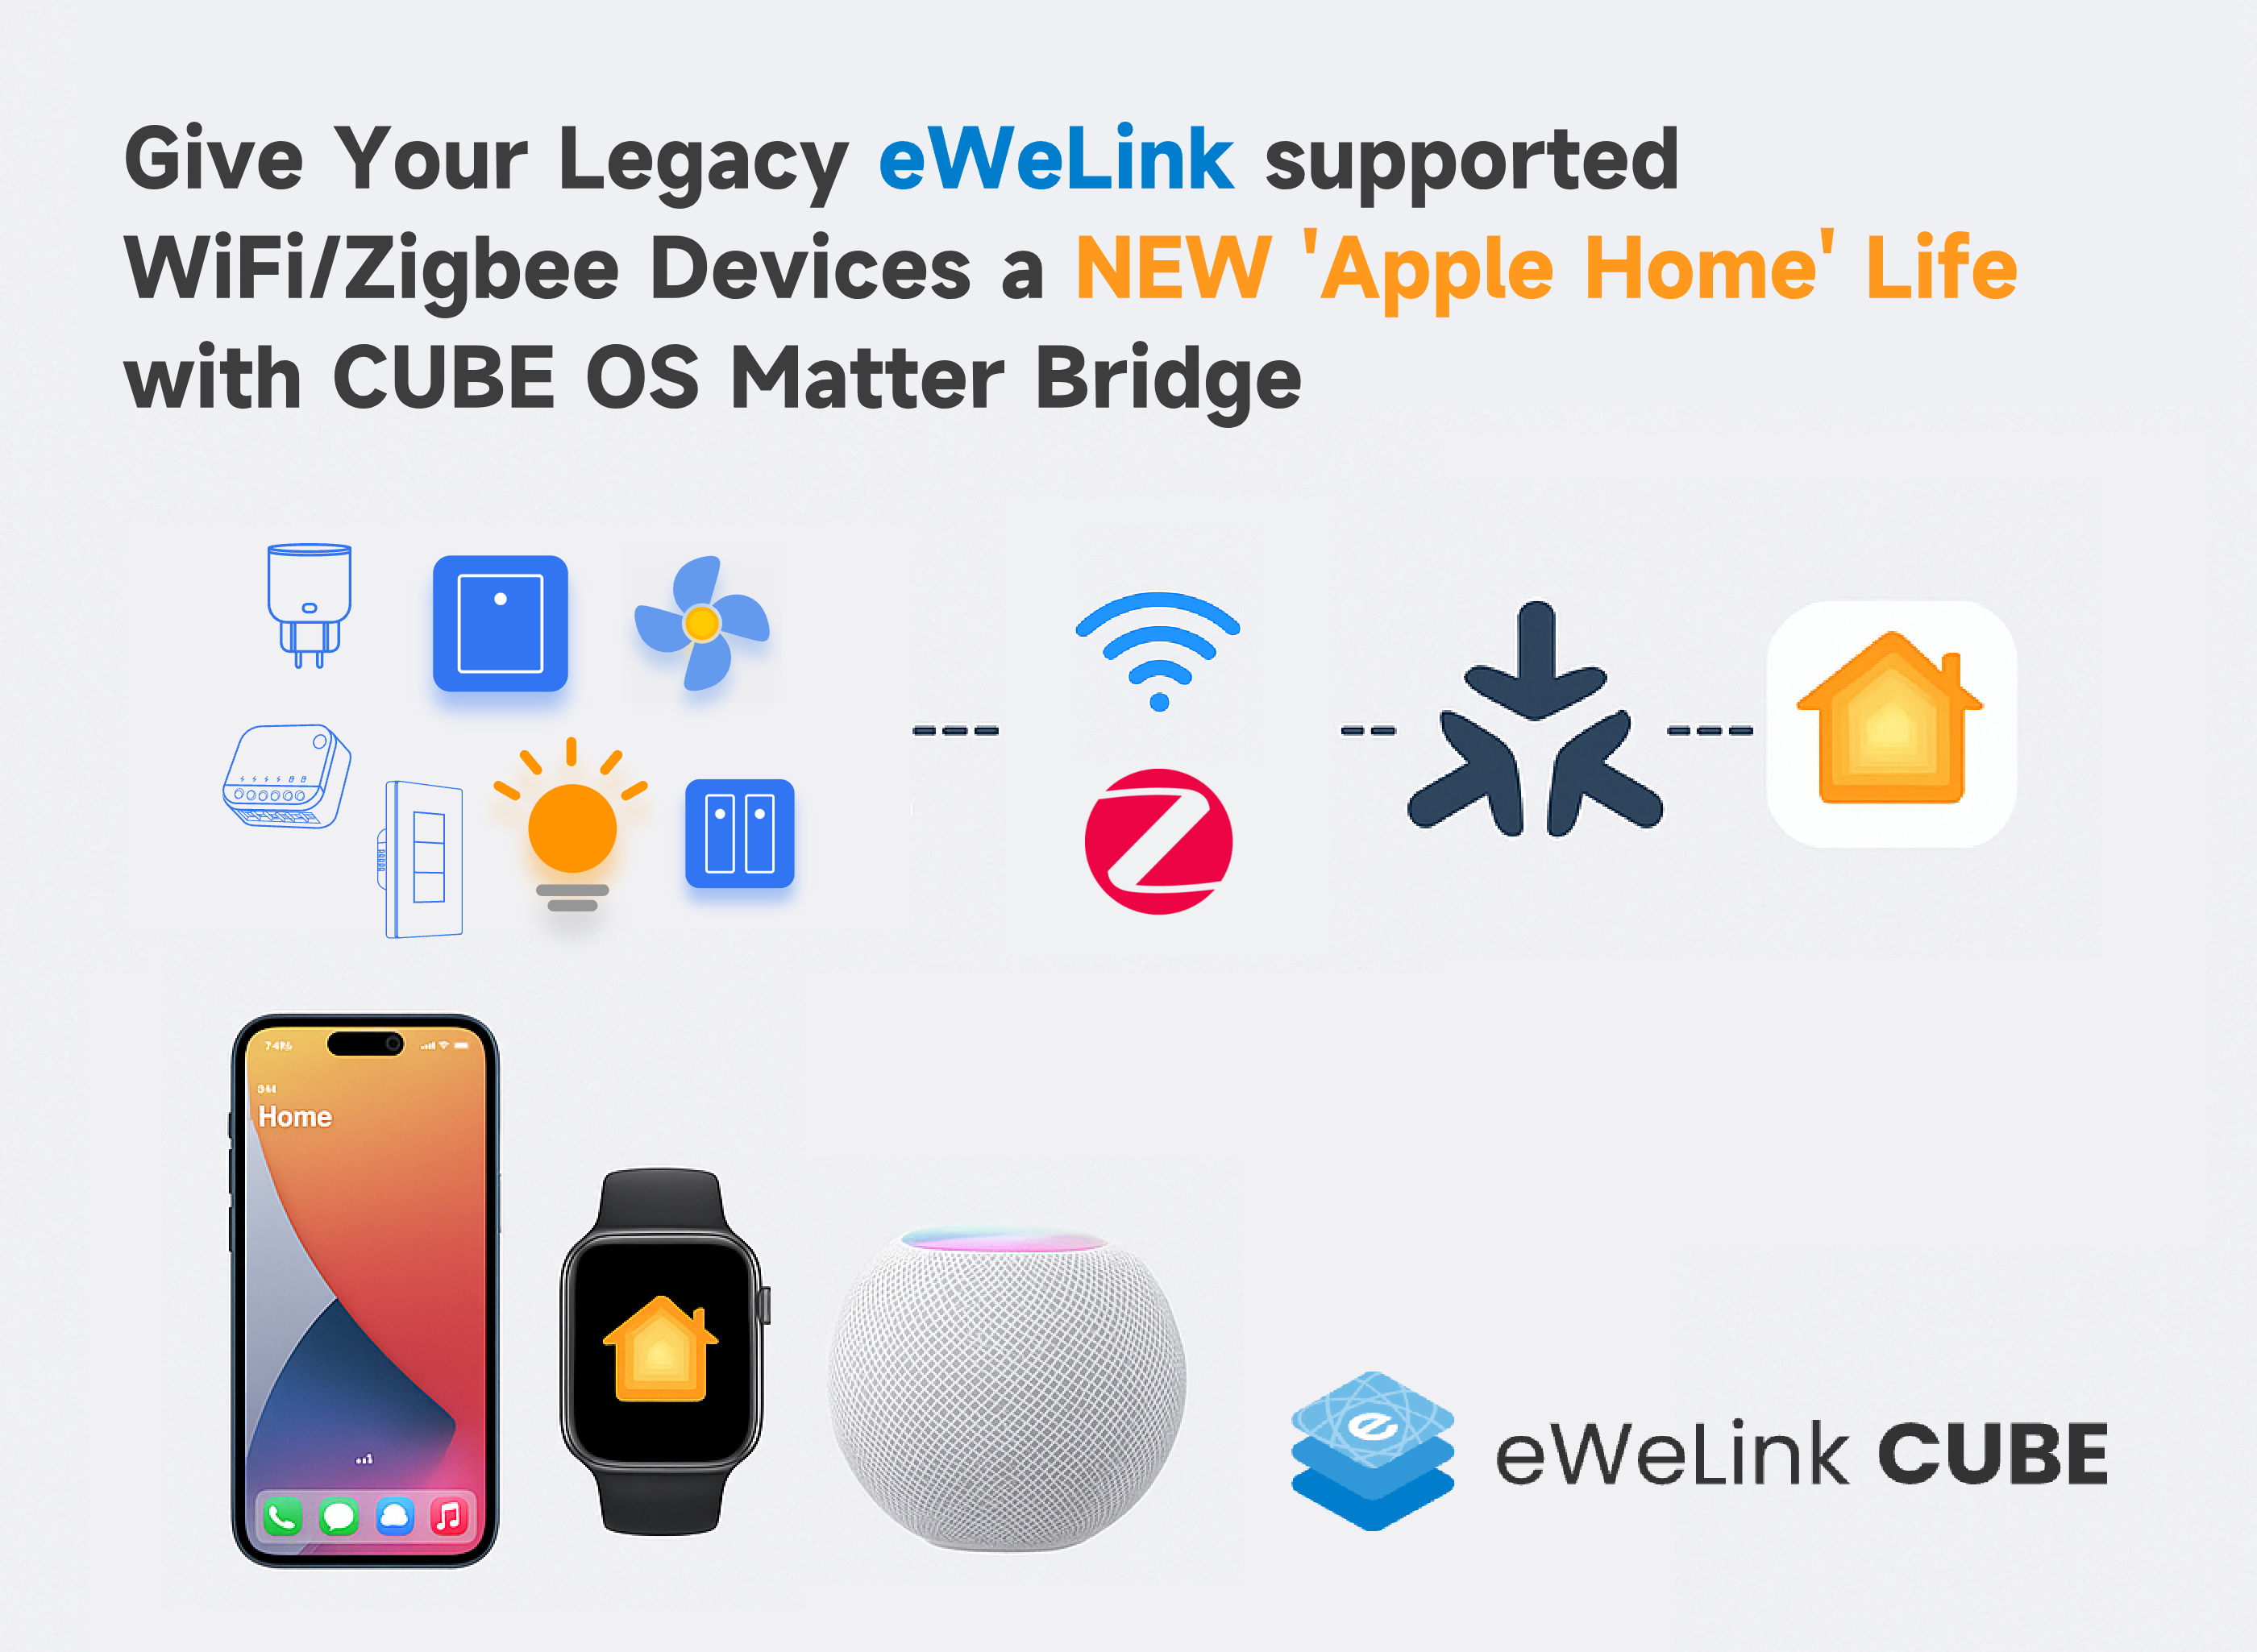
With **CUBE OS** and its built-in **Matter Bridge**, you can now bring your eWeLink LAN devices, Zigbee devices, and more into **Apple Home**. This gives many older WiFi devices a second life - they can now join ecosystems like **Apple Home** without relying on the eWeLink cloud, and be controlled through Apple Home, Siri, HomePod, Apple Watch, and other Apple ecosystem entry points.

We’ve created this thread as a **master post** to guide you through the setup process and share device-specific experiences. Over time, we’ll keep updating this post with links to individual device tests so you can easily check compatibility and Apple Home features.

<div align="left"><figure><img src="/files/Ag1b4QRsGARWwkdLs13T" alt="" width="375"><figcaption></figcaption></figure></div>

***

## Step <a href="#p-240471-step-1-add-devices-into-cube-os-1" id="p-240471-step-1-add-devices-into-cube-os-1"></a>

{% stepper %}
{% step %}

### Add Devices into CUBE OS <a href="#p-240471-step-1-add-devices-into-cube-os-1" id="p-240471-step-1-add-devices-into-cube-os-1"></a>

* Install eWeLink CUBE OS on your preferred host, check these [Installation guides.](/getting-started/quickstart.md)
* **Zigbee Devices:** Plug your **Zigbee Dongle** into a USB port and pair Zigbee devices in CUBE OS.
* **WiFi Devices:** Install the **eWeLink Smart Home Add-on** from the Docker tab in CUBE OS.
* Log in with your eWeLink account and sync your LAN devices.
* You’ll see the synced devices appear in CUBE OS and can assign rooms or rename them.
  {% endstep %}

{% step %}

### Enable Matter Bridge <a href="#p-240471-step-2-enable-matter-bridge-2" id="p-240471-step-2-enable-matter-bridge-2"></a>

* In the CUBE OS web UI, click the **Matter** logo on the sidebar.
* Enable the feature → a **QR code** and **setup code** will appear.
  {% endstep %}

{% step %}

### Pair with Apple Home <a href="#p-240471-step-3-pair-with-apple-home-3" id="p-240471-step-3-pair-with-apple-home-3"></a>

* Open the **Camera app** on your iPhone/iPad and scan the QR code.
* Tap **“Open in Home”** and follow the prompts.
* Once added, you can rename devices and assign them to rooms.
  {% endstep %}

{% step %}

### Control with Siri <a href="#p-240471-step-4-control-with-siri-4" id="p-240471-step-4-control-with-siri-4"></a>

Once devices are added, you can try commands like:

* *“Hey Siri, turn on the living room light.”*
* *“Hey Siri, switch off the TX in bedroom.”*
  {% endstep %}
  {% endstepper %}

***

## Device Experiences <a href="#p-240471-device-experiences-5" id="p-240471-device-experiences-5"></a>

Here’s a summary of how different devices behave in Apple Home through the CUBE OS Matter Bridge. This table will be updated continuously with new device tests.

<table><thead><tr><th width="88">Device Type</th><th>Link to Post</th><th width="133">Example Model</th><th width="84">Rename Device</th><th>On/Off Control</th><th>Dimming / Brightness</th><th>Color Temp / Color Control</th><th>Room Assignment</th><th width="132.54541015625">Automation (Trigger/Action)</th><th width="85">Siri Control</th><th width="376">Notes</th></tr></thead><tbody><tr><td>Switch</td><td><a href="/pages/CGstE9468Du2n7T9k7B1">Read more</a></td><td>SONOFF TX</td><td>✔️</td><td>✔️</td><td>-</td><td>-</td><td>✔️</td><td>Both Trigger&#x26;Action</td><td>✔️</td><td>Switches in Apple Home support multi-channel splitting and “Display As” options, which affect how the device is shown and controlled by Siri.</td></tr><tr><td>Light</td><td><a href="https://www.youtube.com/watch?v=8wSjvjvKHe4">Watch video</a></td><td>SONOFF B05-BL</td><td>✔️</td><td>✔️</td><td>✔️</td><td>✔️</td><td>✔️</td><td>Both Trigger&#x26;Action</td><td>✔️</td><td>Supports dimming and color control</td></tr><tr><td>Plug</td><td><a href="/pages/LZq560JsuVK2rHPhBK1s">Read more</a></td><td>SONOFF S40</td><td>✔️</td><td>✔️</td><td>-</td><td>-</td><td>✔️</td><td>Both Trigger&#x26;Action</td><td>✔️</td><td></td></tr><tr><td>Sensor</td><td>Coming soon</td><td>SNZB-02</td><td>✔️</td><td>-</td><td>-</td><td>-</td><td>✔️</td><td>Only as Trigger</td><td>-</td><td>Can trigger automations</td></tr></tbody></table>

***

## Next Steps <a href="#p-240471-next-steps-6" id="p-240471-next-steps-6"></a>

* We’ll keep adding more device experiences (plugs, lights, sensors, gateways, etc.).
* Feel free to share your own tests in the comments. Your feedback will help improve the Matter Bridge and guide compatibility work.


---

# Agent Instructions: Querying This Documentation

If you need additional information that is not directly available in this page, you can query the documentation dynamically by asking a question.

Perform an HTTP GET request on the current page URL with the `ask` query parameter:

```
GET https://cube.ewelink.cc/blog/add-your-devices-into-apple-home.md?ask=<question>
```

The question should be specific, self-contained, and written in natural language.
The response will contain a direct answer to the question and relevant excerpts and sources from the documentation.

Use this mechanism when the answer is not explicitly present in the current page, you need clarification or additional context, or you want to retrieve related documentation sections.
